November 16, 2019
Configuring Windows Server NLB for multi-node deployment
Architecture
This article discusses details of Windows Network Load Balancer (NLB) configuration to balance two or more XTAM Server nodes. Earlier we discussed XTAM Server multi-node architecture built using Microsoft IIS server as a load balancer. We also provided example configuration for XTAM Server multi-node deployments using Apache HTTPD server.
Both Microsoft IIS and Apache HTTPD Server are HTTP level load balancers. While this configuration works well for XTAM WEB GUI and in-browser sessions, load balancing of XTAM SSH as well as HTTP Proxy components requires TCP level load balancing. We would recommend to use hardware or specialized load balancers to support these advanced scenarios. However, it is also possible to implement Microsoft Network Load Balancer or HAProxy as a solution to balance multiple XTAM nodes when using TCP level balancing.
The article below provides step by step instructions for configuring Microsoft NLB to balance multiple XTAM nodes. Note that NLB feature is available in Windows Server 2016 and above.
Instructions to configure Windows Server NLB for multi-node deployment
- Obtain the IP address for use as load balancer address
- Add this IP to the DNS zone with name where XTAM server will be available
- Edit server.xml on all nodes and change port 6443 to 443 for web application connector. The file is located in $XTAM/web/conf folder

- Generate trusted SSL certificates for Fully Qualified Domain Name (FQDN) of all nodes and FQDN of load balancer. Apply certificate to XTAM WEB Application on both nodes.
- On all balanced XTAM application nodes set IP addresses statically
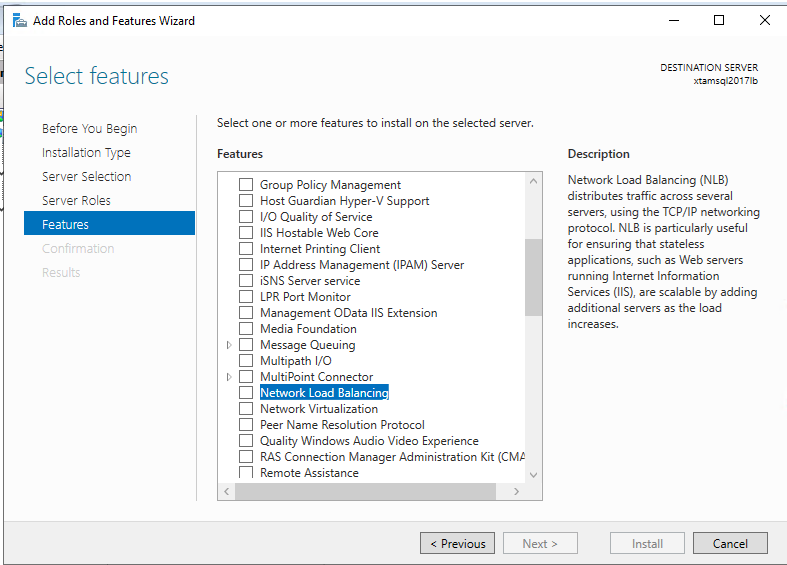
On all XTAM nodes install Windows feature Network Load Balancing
Using PowerShell execute the following command: Install-WindowsFeature nlb,rsat-nlb
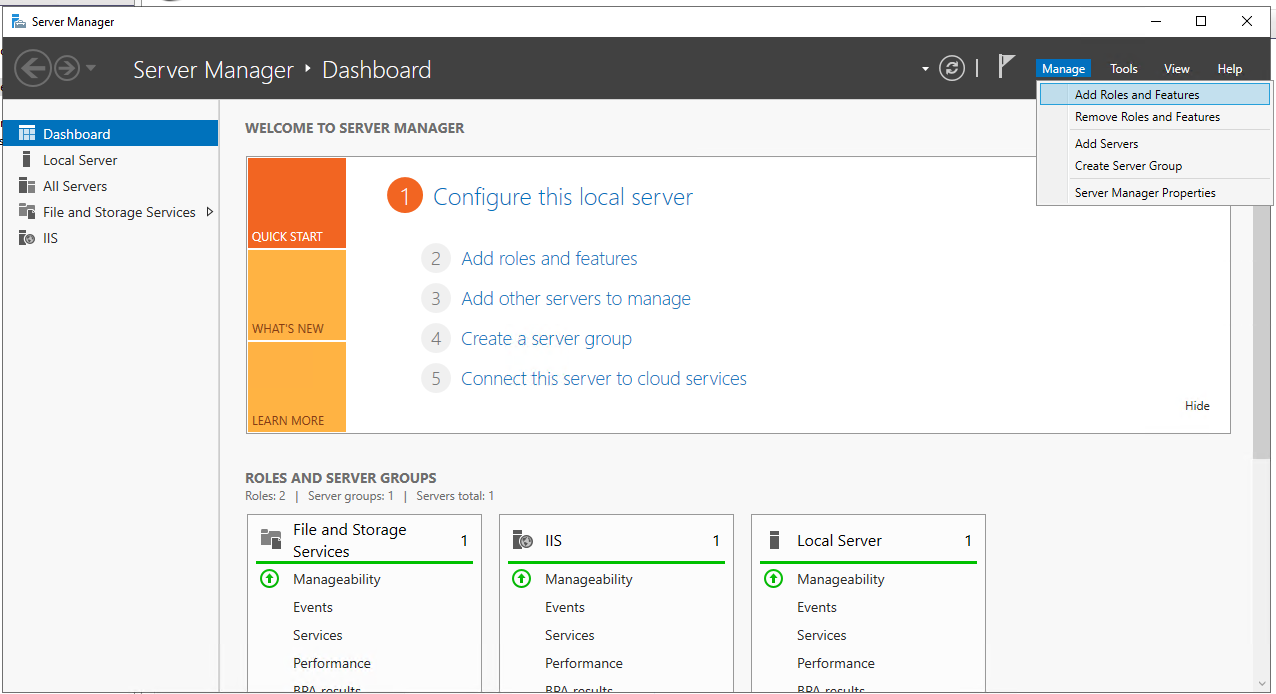
You can also add the feature using the Server Manager:
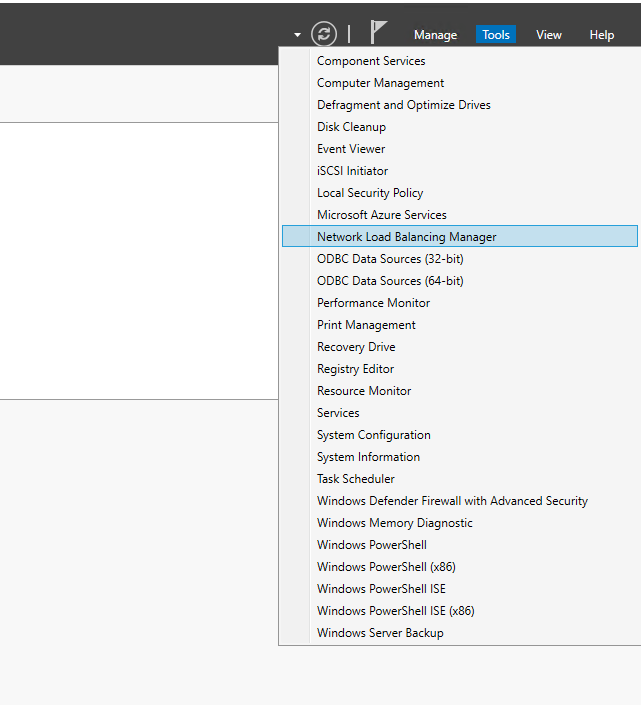
- From Server Manager->Tools start Network Load Balancing Manager
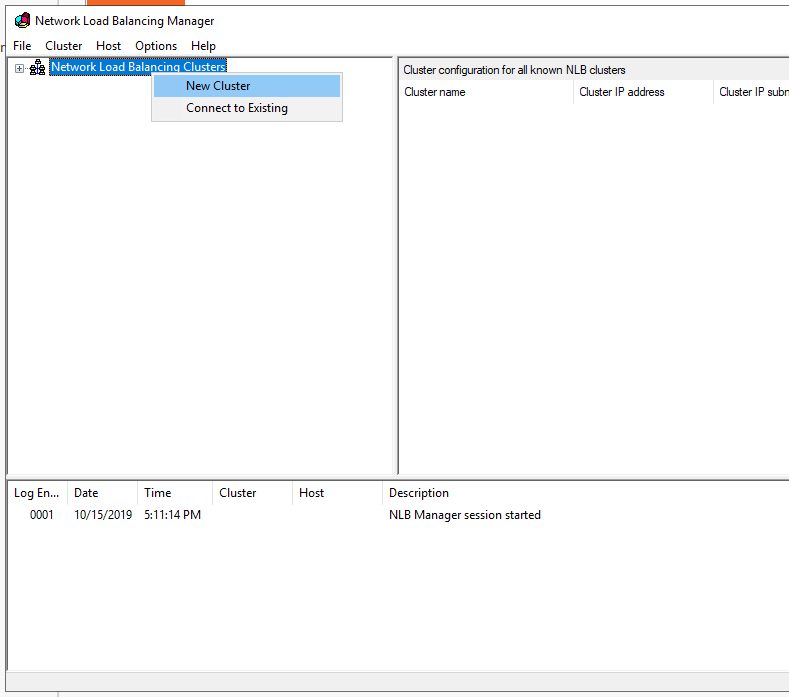
In NLB Manager create new cluster
Enter hostname or dns name of first node in Host field and Connect->Next

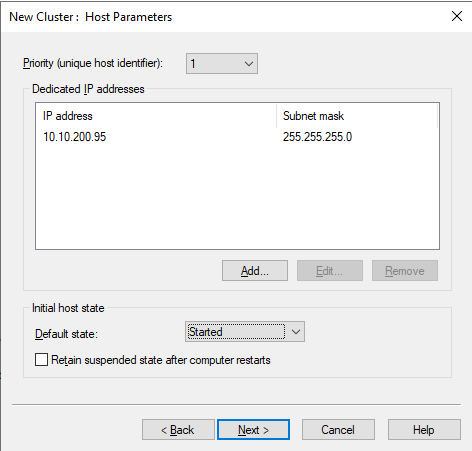
Click Next
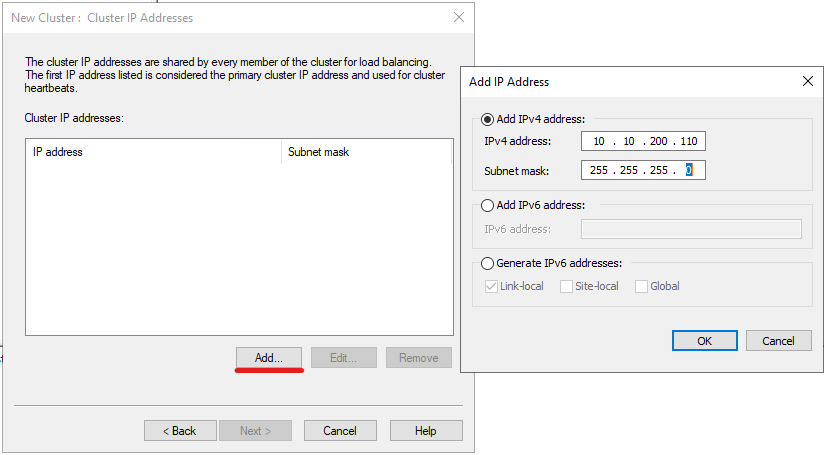
On cluster IP Address dialog click Add and enter IP address which was reserved during step 1 -> Ok -> Next
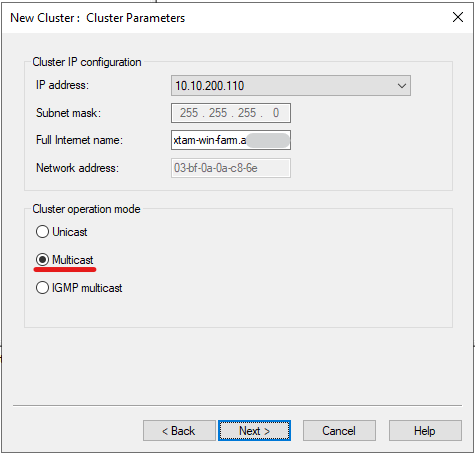
On Cluster Parameters dialog enter DNS name created during step 2 in Full Internet name field and select Multicast mode -> Next
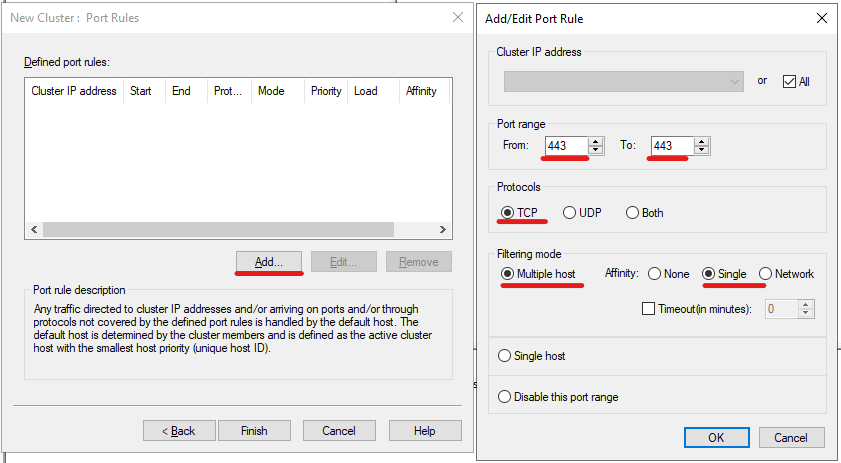
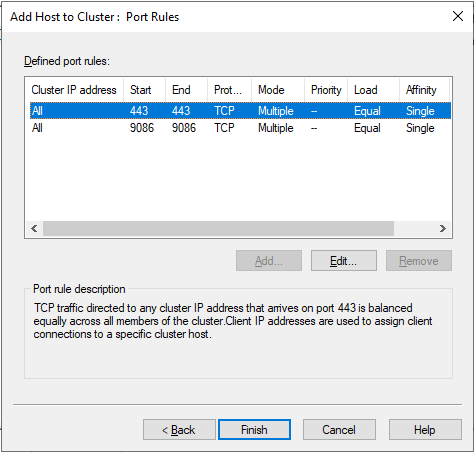
In Port Rules dialog screen remove default rule and add rules for xtam application with all necessary ports, like TCP/443 for web access, TCP/9081 for http proxy and so on
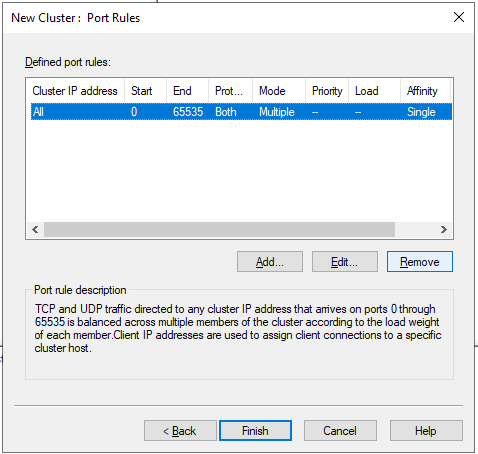
Example of rule for web access using https protocol, “Single” affinity in “Filtering mode” means that all requests from single IP address will be forwarded to same host
After adding all necessary ports click Finish. After this network connectivity to your server may disappear for a few seconds.
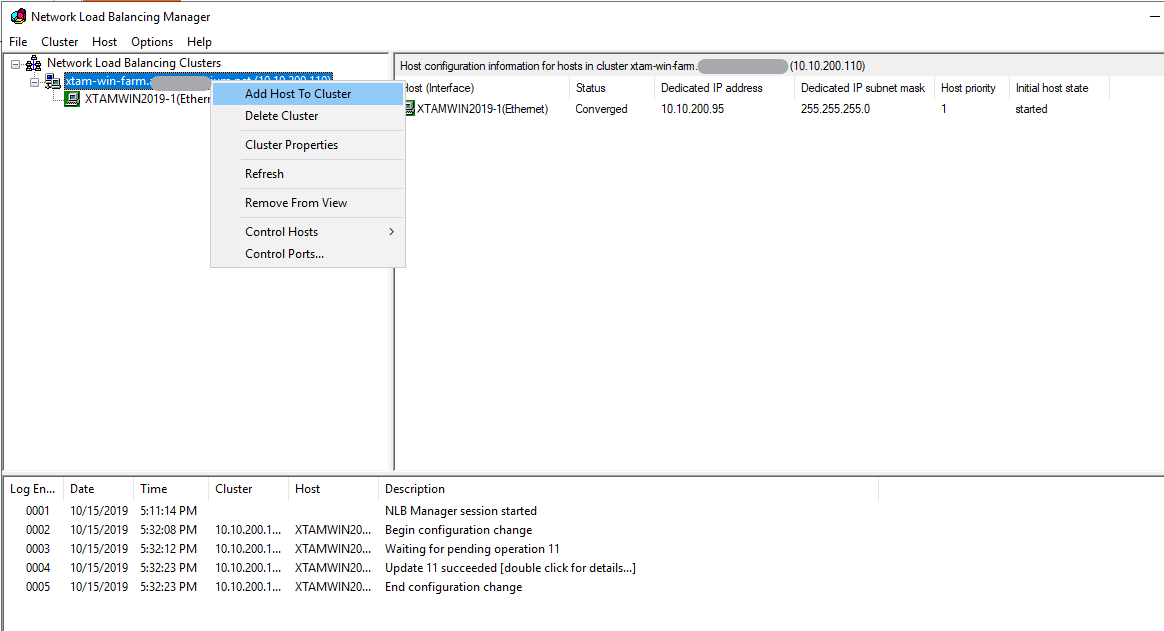
Add second host to your NLB cluster
Enter hostname or dns name of second node in Host field and Connect->Next
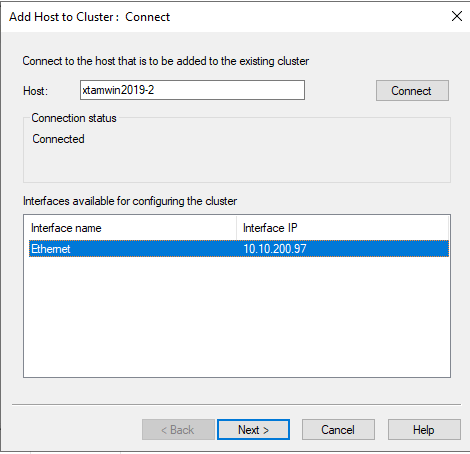
Click Next
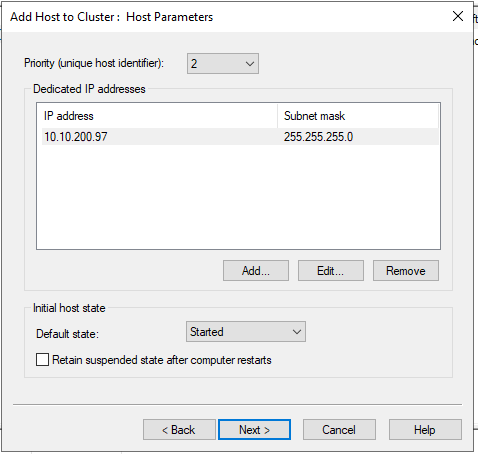
Click Finish. And if you needs to add additional nodes, just add them as the same way as the second node described above.
After all nodes configurations synchronized, the following screen will appear:
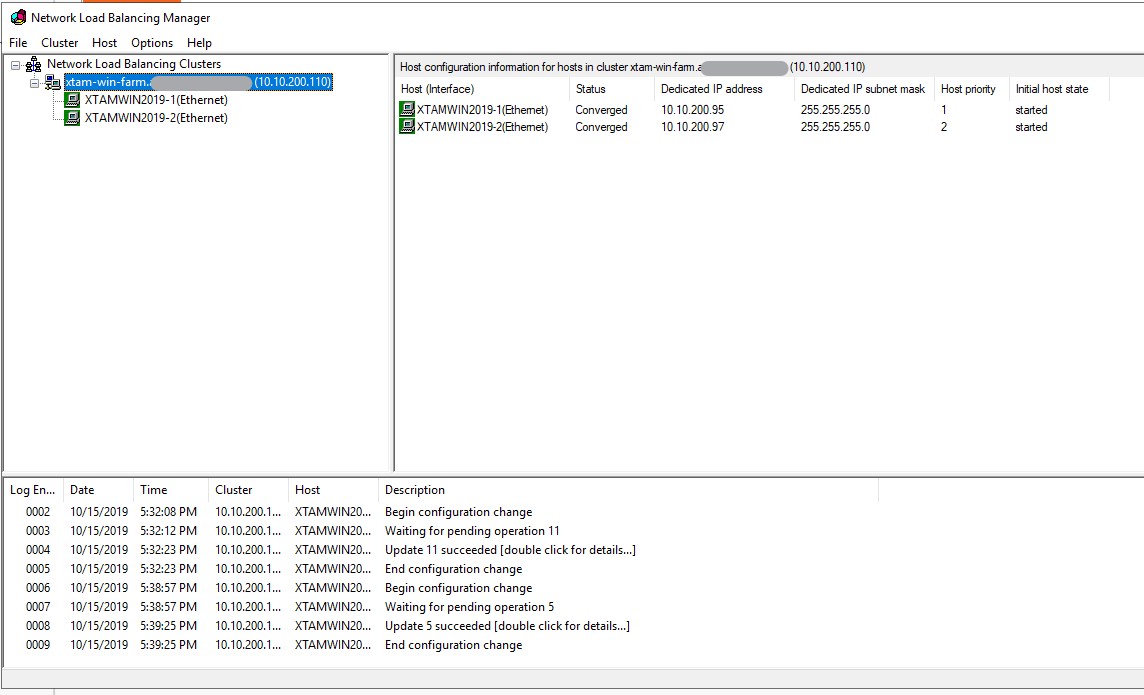
Now you can try to access your XTAM Server using load balancer DNS name.